Acoustic guide


Easy rules for good acoustics
If you have problems with poor acoustics in the workplace and consistent annoying noise that affects the working environment, we have created a guide so that you get the optimal effect from your SilentArt acoustic images:
- Calculate the total surface area of both walls and ceiling in the room.
- Determine the percentage of coverage you are aiming for, here it is recommended to find a level between 13-20% or more depending on your needs.
- Multiply the total surface area by the desired percentage of coverage to get the amount of absorbent materials needed in square meters.
Example:
A room that has a total surface area of 100 m², where you aim for 20% coverage with acoustic materials:
100 m² * 20% = 20 m² of absorbent materials
Remember, the exact needs can vary considerably, and consultation with an acoustic expert or the preparation of a more detailed acoustic analysis may be necessary for optimal results, especially in specialized settings.

Choose the right material and thickness
Acoustic screens come in different materials and thicknesses, which affect how well they dampen sound. The acoustic board at Silent Art is certified sound class A , which means that it is the best attainable sound class and thus also the best product to improve the acoustics, regardless of whether we are talking about low or high frequency sounds. High-frequency sounds can, for example, be speech from people or sounds from electronic devices. We experience low-frequency sounds, among other things, from ventilation systems, traffic on the street in front of the window or speech that "walks" through walls.
- Our 30mm is sound class A for high-frequency sounds and sound class B for low-frequency sounds.
- Our 50mm is sound class A for both high-frequency and low-frequency sounds. That is top shelf in sound absorption.
Place the pictures strategically
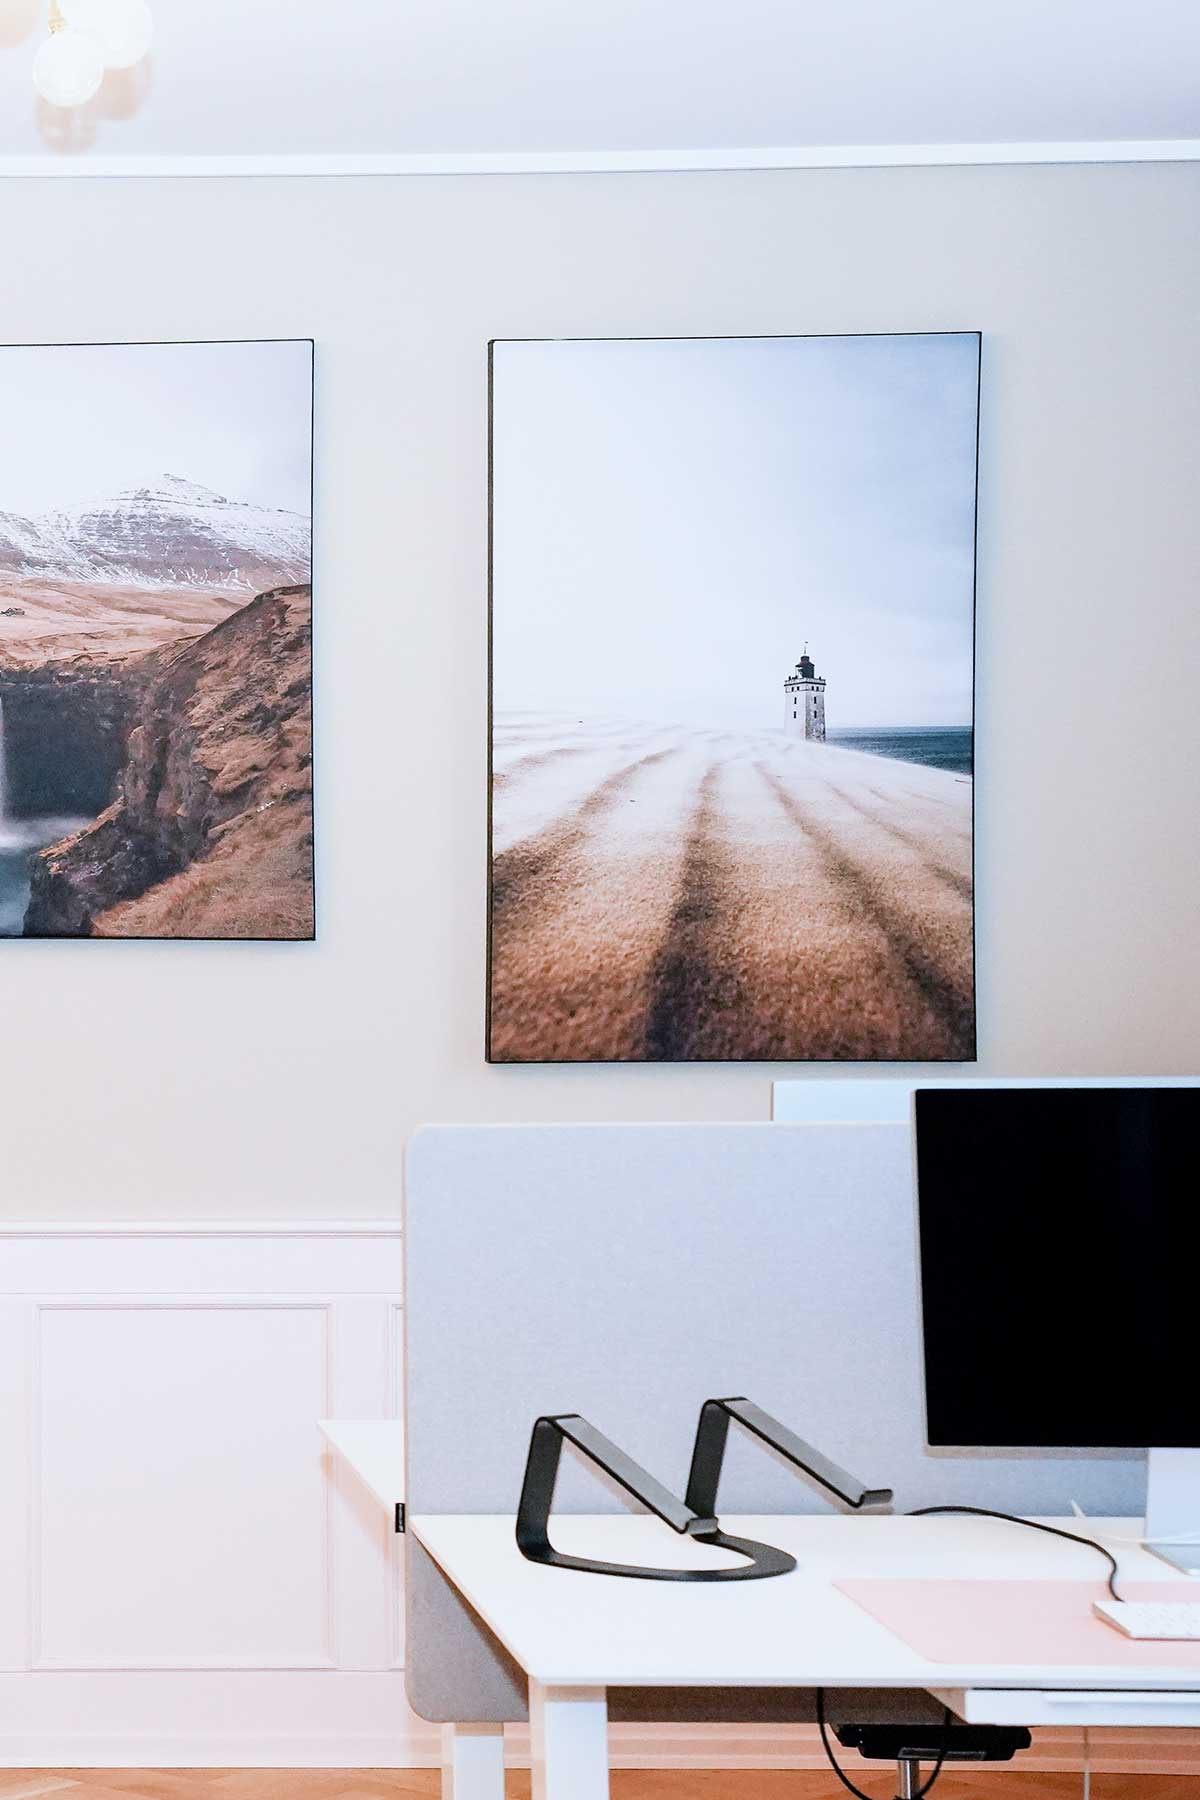
- The acoustic images must be placed at speaking height and close to the sound source: in order to dampen sound effectively, acoustic images should be placed close to the areas where the sound is generated, for example conversation areas or noisy workstations; such as large offices, meeting rooms with reverberating sound, commercial kitchens or areas with machines that generate constant noise.
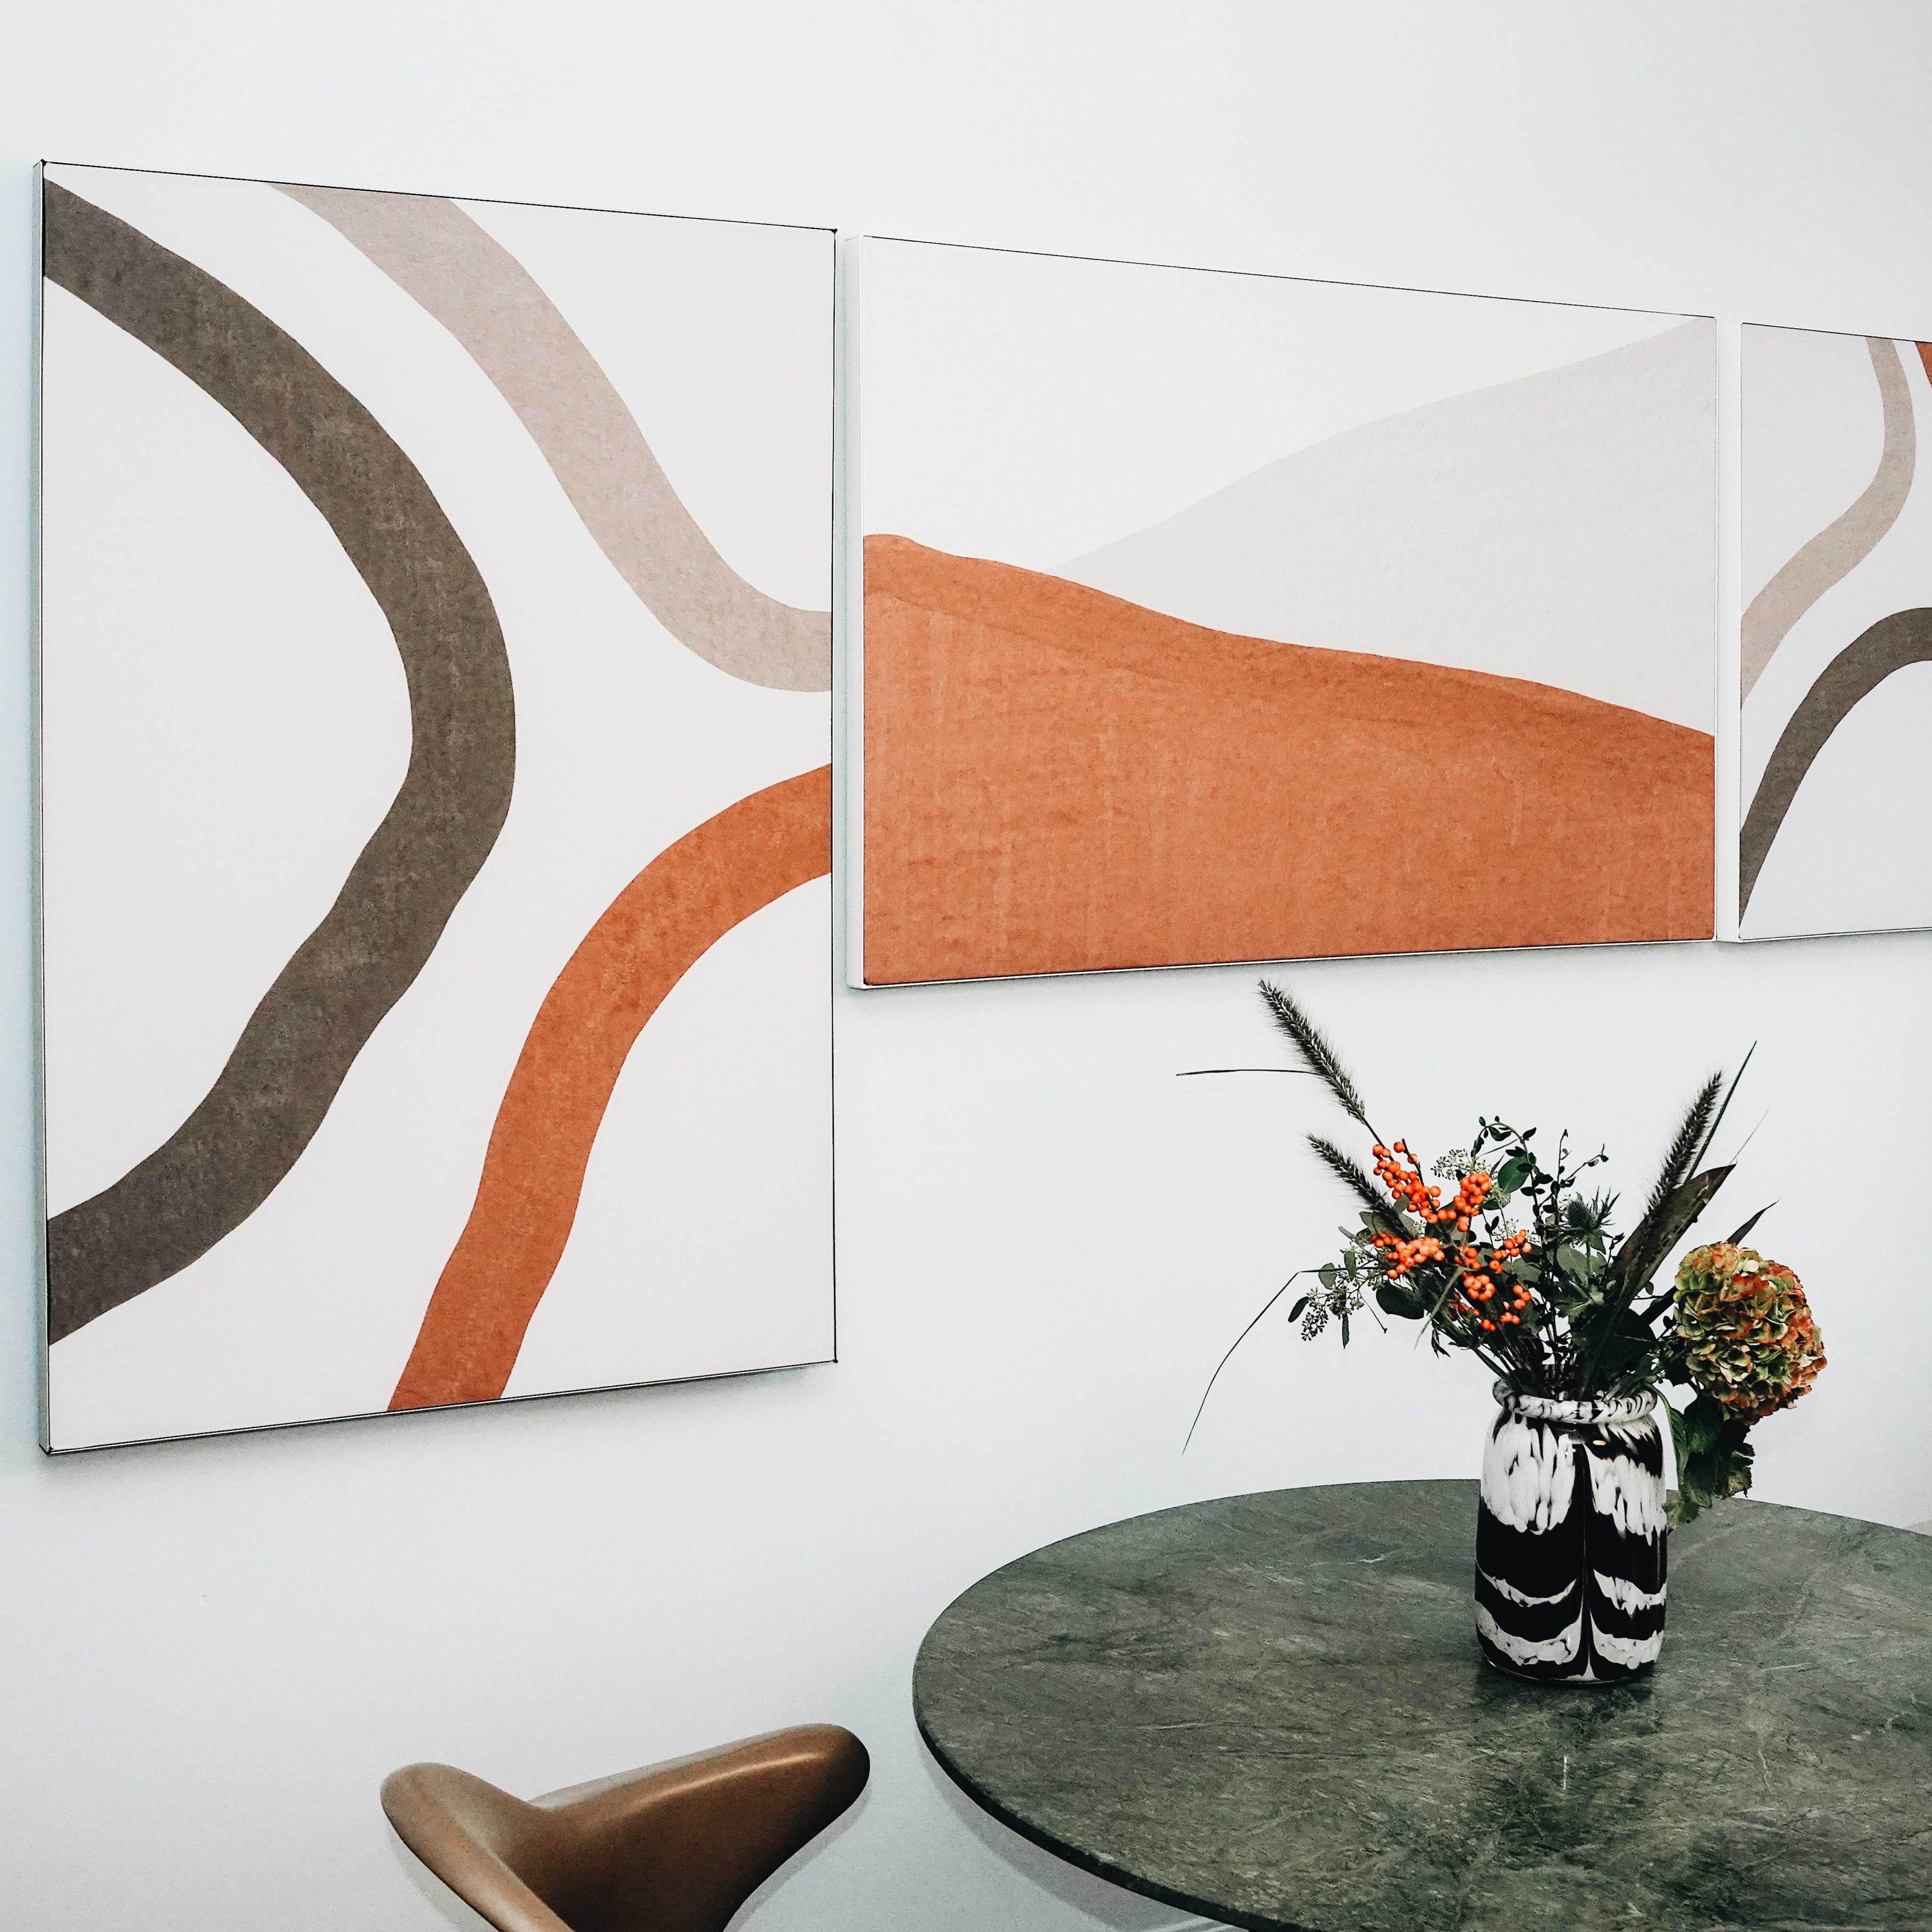
On adjacent walls: Place acoustic images on two adjacent walls. This creates a more even sound absorption, reducing echoes and sound reflections.
Cover sufficient wall surface
- To achieve noticeable improvement in acoustics, it is recommended to cover about 15% of the wall or ceiling area of the room with acoustic pictures or other absorbent materials. In larger rooms with a high sound level, it may be necessary to cover a larger part of the surfaces.
Supplement with other acoustic elements
- Combine acoustic images with other sound-absorbing materials such as carpets, curtains, furniture and acoustic panels. It creates a holistic solution that not only reduces sound reflections, but also creates a pleasant sound experience.
